


Forest Springs Bathroom
Compatible with KeyShot 10 and later
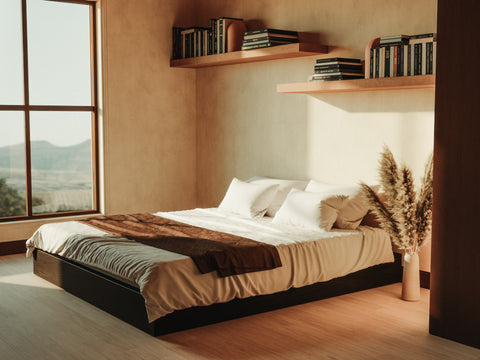
This tranquil bathroom scene is buried within thick woodland at the side of a natural spring. The wooden beams and lighting trim provide lots of warmth to shots, whilst the concrete walls and vanity complement the natural surroundings.
Render your product on the various spots around the scene and enjoy photo-realistic results with ease. See below for our favourite demo renders we captured in this scene.
Designed and rendered by Joe Cassidy and Rob Evans.
KeyShot package file (.KSP) containing the full scene and all resources.
Lightroom Presets
Items can be downloaded immediately after checkout or later via the Asset Download email.
Included in scene:
We advise using RTX graphics cards (ideally RTX 4060 and above) with Keyshot in GPU mode as a minimum to run our Interior files. 4070 and above recommended for smoother performance and reasonable render times. Our Studio scenes are much lighter to run.
This is a KeyShot 10 package. You will need KeyShot version 10 and above to open the file.
Our resources are mastered in GPU mode. You may see different results in lighting and materials when rendering in CPU mode. Although, the disparity between them has decreased since the launch of GPU mode in KS9.
Promotional images have been post-processed in Adobe Lightroom Classic using the included presets.
All assets can be used for commercial and non-commercial purposes.
Select a license which covers the number of KeyShot users at your organisation. 'Organisation' excludes education establishments.
If you have more than 10 KeyShot users or require education pricing, please contact sales@visune.io for a quote.
For our full terms, please see our License page.
Forest Springs Bathroom
Asset in action
The assets we make are just a beginning.
There are endless possibilities for how you
could deploy them in your workflow.
Here’s a demo render made using this resource.


Lightroom Presets
Edit your renders just how we do with our included Adobe Lightroom Presets